|
<< Click to Display Table of Contents >> Plotting Wall Points |
  
|
|
<< Click to Display Table of Contents >> Plotting Wall Points |
|
Walls can be created in Icovia using the wall tool. Walls are defined by two or more points forming a wall segment, which can be moved or deleted at any time.
| 1. | Select the add wall tool from the editor toolbar by clicking on it. |

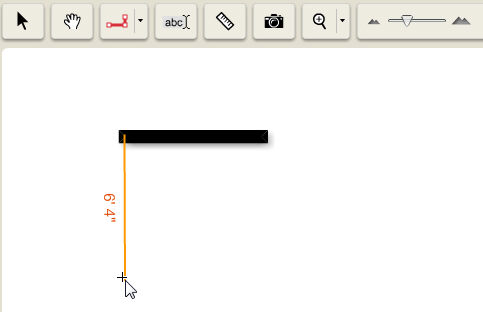
| 2. | Select the first point by clicking and releasing your mouse button in the workspace. As you move your cursor after setting the first point, a line follows your cursor to indicate the wall orientation and show you the length of the wall. |
| 3. | Select the second point for the wall by clicking on the workspace. A wall will appear between the two points you chose. Select additional points if desired by clicking on the workspace. |
| 4. | To end the wall, press the escape key on your keyboard. This enables you to end the current wall and start another wall somewhere else on the workspace. |
| 5. | Once the wall is drawn, you can move the wall points to a new location or split the wall to create more complex wall shapes. |
Note: Corner points can be added to a straight small segment by clicking on them while pressing the [Ctrl] key on the keyboard.